
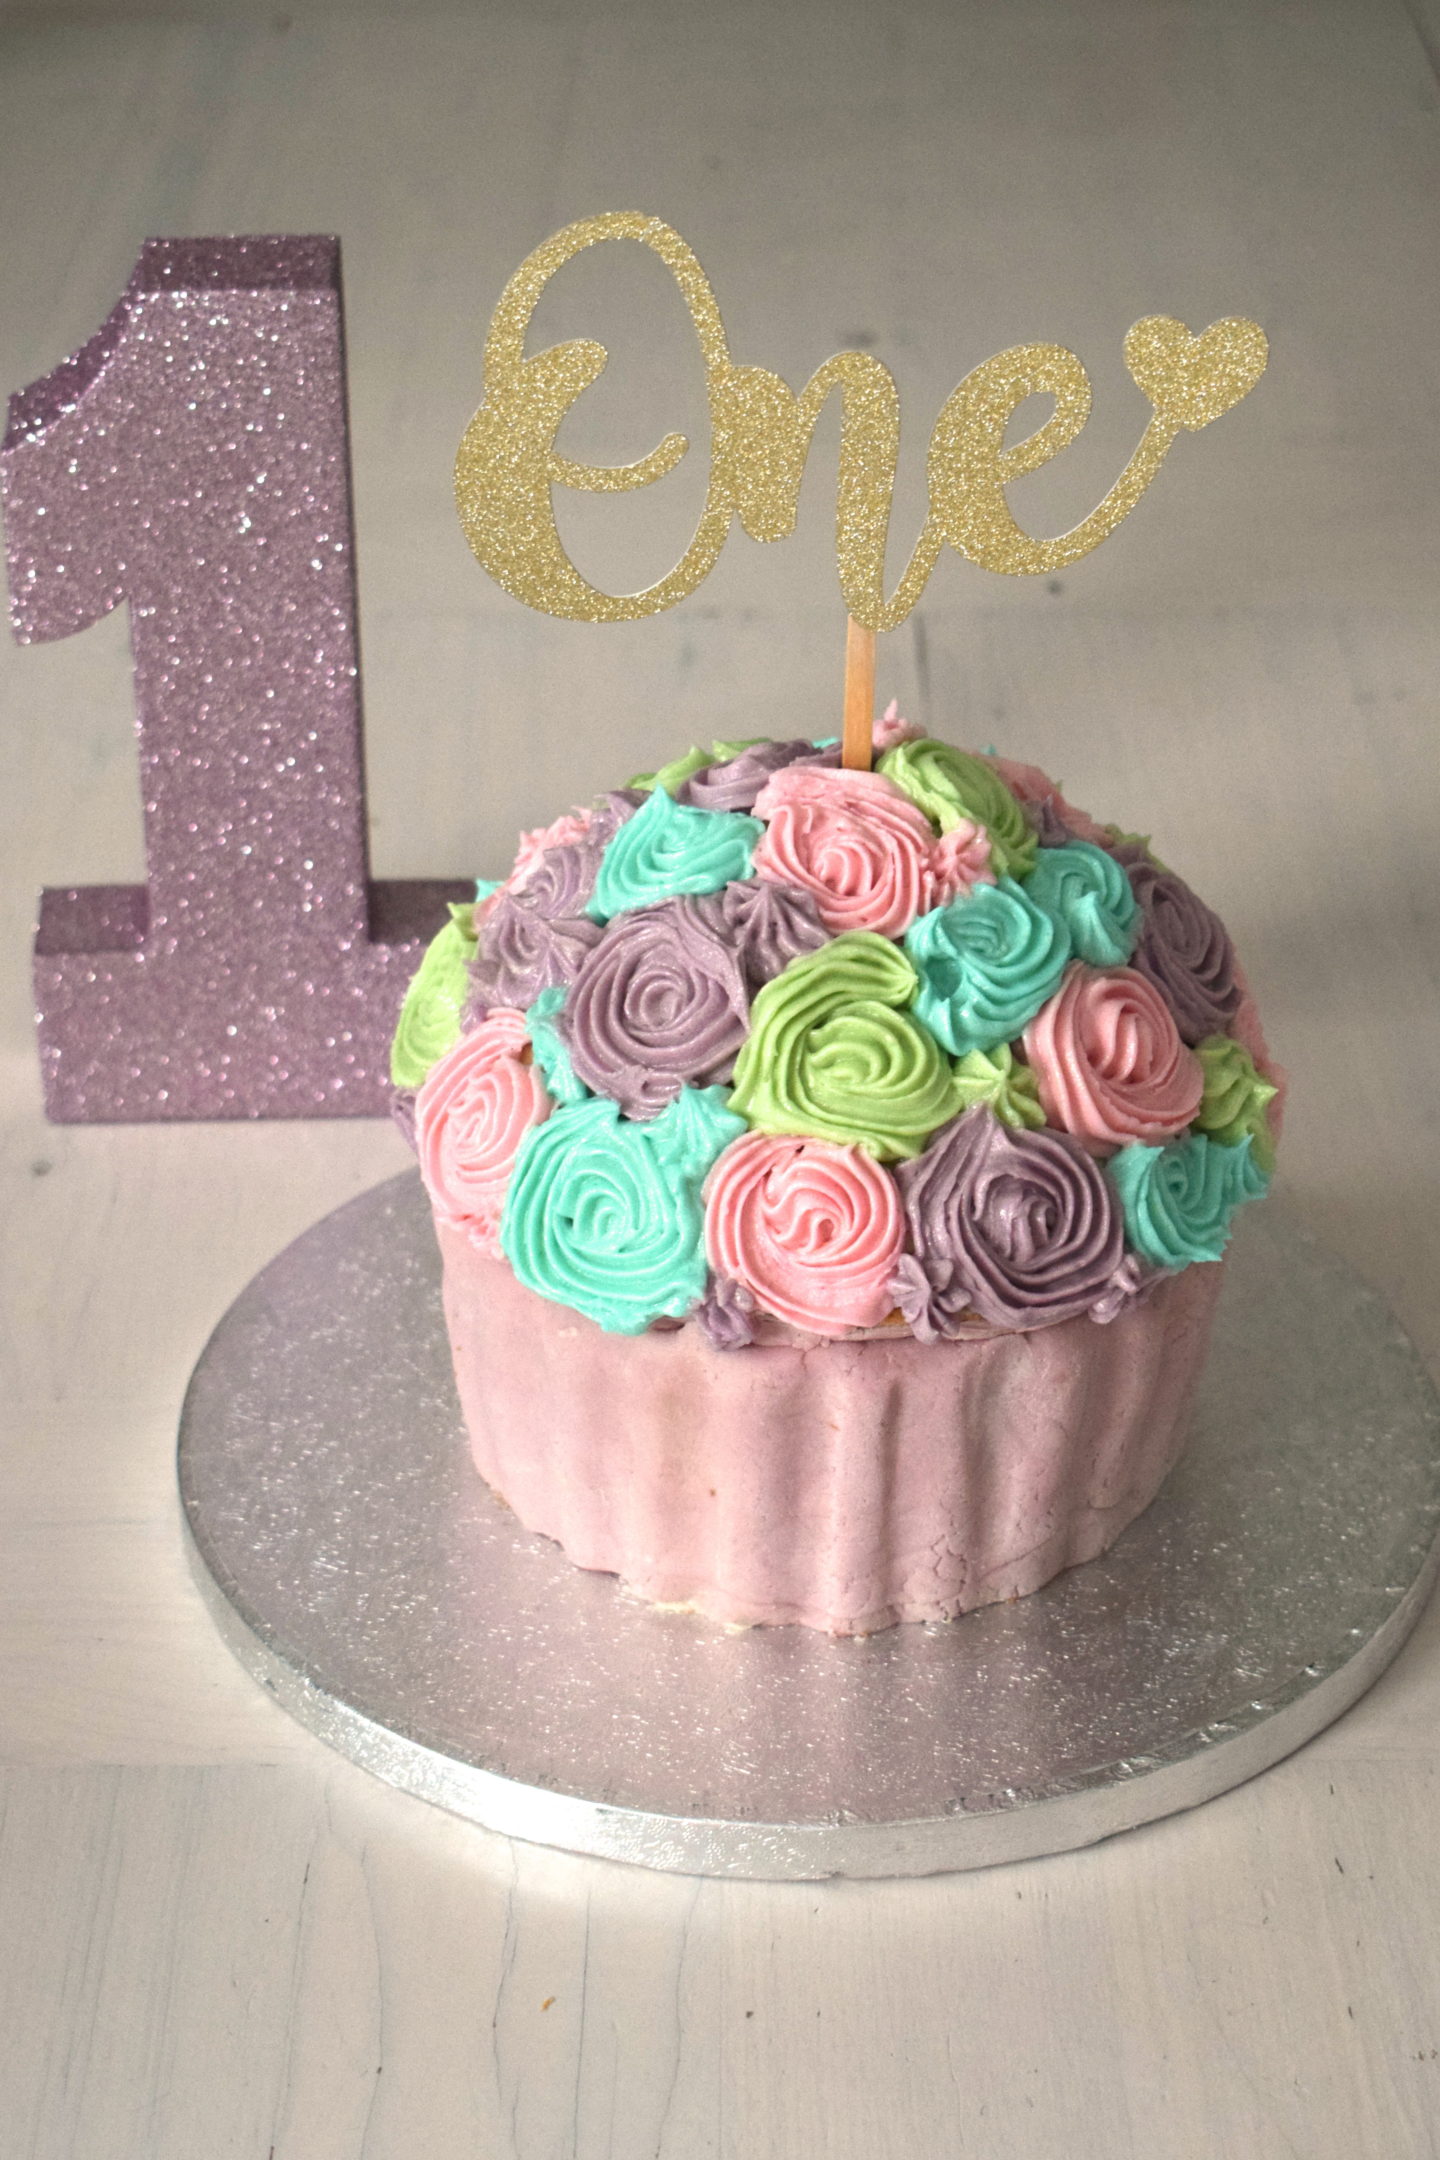
When Frankie turned one, I wanted to find a delicious and pretty cake which she could enjoy despite her allergies. We decided on a unicorn/pastel theme for the party and I had always wanted to try baking a giant cupcake, so my decision was made – a pastel dairy and soya free giant cupcake coming up.
I bought a giant cupcake tin from Amazon. Having done some research, it seems the silicone ones can sometimes fall over, so I went for this metal one. Basically, every man and his dog will now get a giant cupcake for their birthday for a few years to make it worth my tenner.
Everyone said they loved it and I ate rather a lot of it. Turns out Frankie isn’t a huge cake fan, so we all had a dairy and soya free cake and she didn’t really eat any! But she was excited when we bought the cake out and just loved everyone singing to her.
Anyway, without further ado, here’s my recipe:
INGREDIENTS
325g dairy free margarine (I always use Vitalite)
350g caster sugar
6 large eggs
350g self raising flour
2 tsp vanilla extract
Packet of ready to roll royal icing
500g icing sugar
175g dairy free margarine
Food colours of your choice
Strawberry or raspberry jam
METHOD
- Preheat the oven to 160c (fan) or 180c
- Cream together the sugar and margarine. I always use a hand whisk for this, as it’s so much quicker and gets the mixture really light and fluffy.
- Beat the eggs into the mixture one by one (whisk each one first.
- Once the mixture is light and fluffy, sieve the flour into it, and fold in gently.
- Add the vanilla extract and mix through.
- Line the flat base of the bottom half of the cake tin with baking paper and then really thoroughly grease the rest of the tin – making sure you get into all the little nooks and crannies. These cakes can be quite tricky to get out of the tin, so it’s important that you do this bit thoroughly.
- Dust the tins with flour for extra release power.
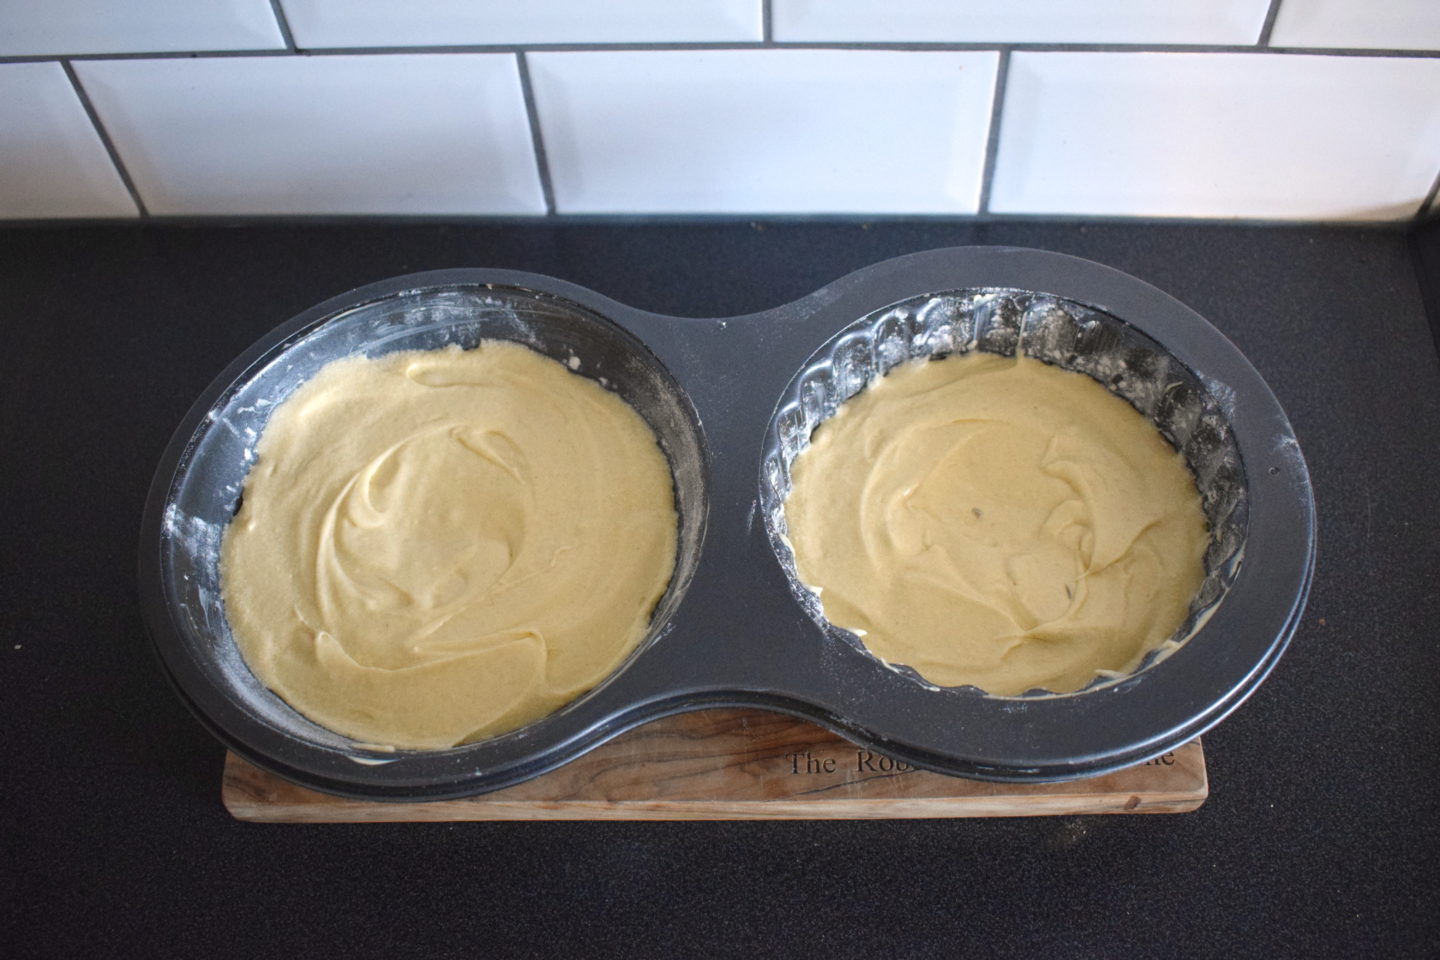
- Fill the top half of the tin first, filling it to the last swirl, so around 2-3cm from the top
- Pour the rest of the mixture into the bottom half of the tin. The gap to the top will be bigger on this side, as there is more mixture, it will rise more than the top half.
- Bake in the oven for around an hour, checking that it’s fully cooked before removing from the oven,
- Allow to cool in the tin for 15-20 minutes
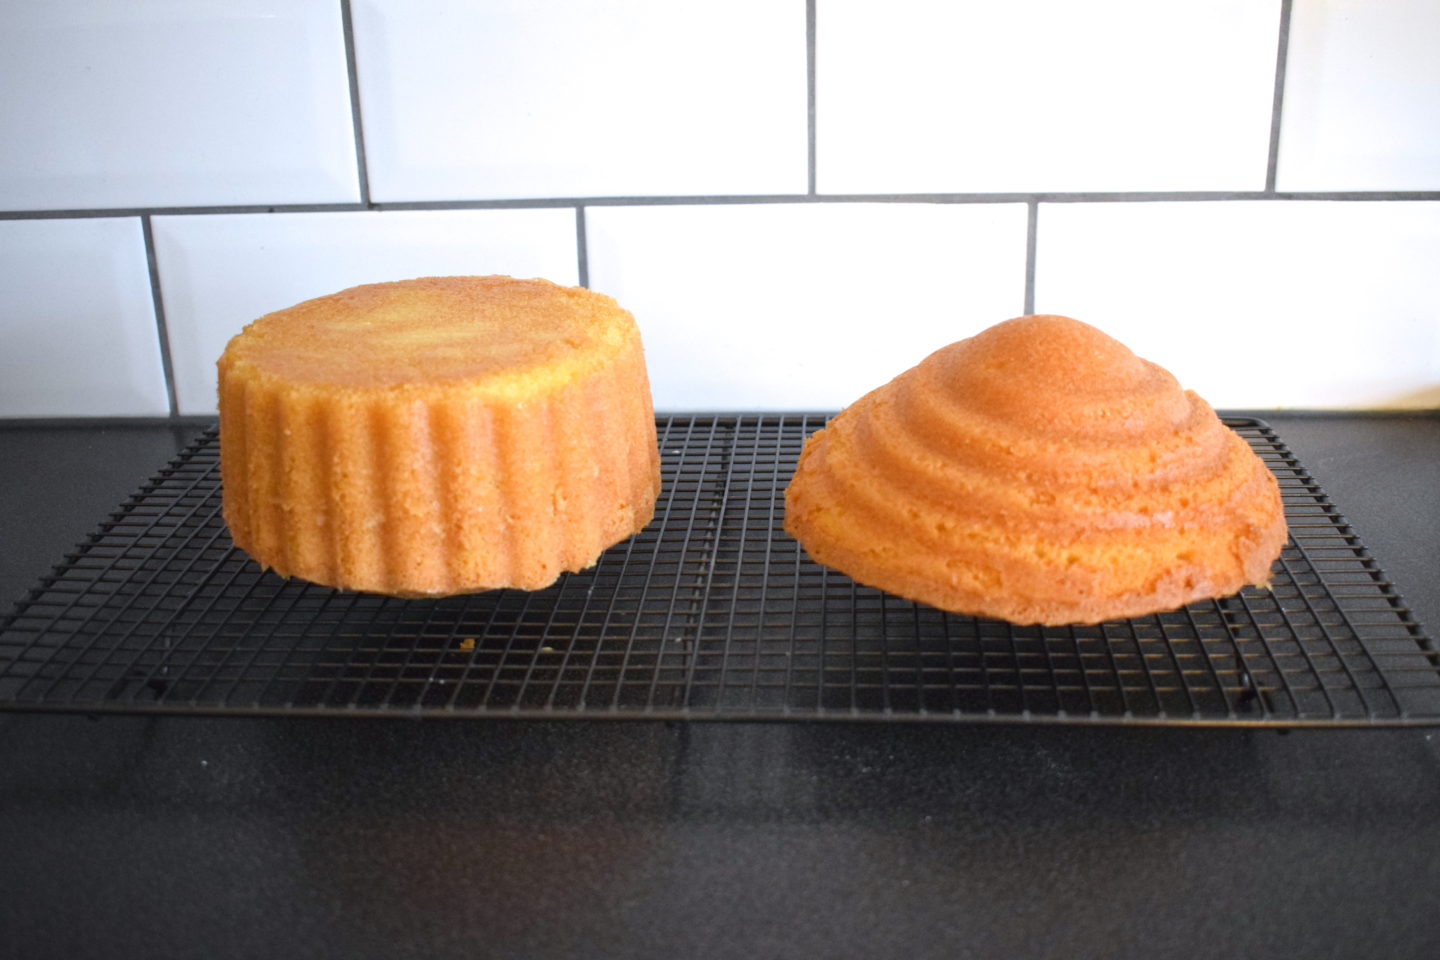
- Turn the tin onto a wire cooling rack and give it a sharp tap to release the cakes
 ICING AND DECORATING
There are so many ways to decorate a giant cupcake, so let your imagination run wild. I went for the classic style and here’s how I did it. - When completely cool, level off any domed cake from the two shapes, so that the bottom half is flat on top, and the top half is flat on the bottom.
- Cream together the icing sugar and margarine to make a butter icing.
- Carefully slice the bottom half in half horizontally and do the same with the top half. Then spread some buttercream along each slice and put back together.
- Add the colour of your choice (we used pink) to the royal icing and roll out on a flat surface dusted with icing sugar, until it’s about 1cm thick and an oblong shape that is wide enough to cover the depth of the base. Cut along the sides to get a nice clean edge.
- Royal icing can get a bit difficult to pick up and mould when rolled thin, so I usually loosely roll it onto a rolling pin to lift it up.
- Place the base of the cake onto a turntable.
- Place the icing flush to the bottom of the cake. Slowly unravel it from the rolling pin, onto the cake, turning as you go. Keep the bottom flush with the board.
- When you have covered the whole base, trim off the excess icing. Then wet your finger and rub the join so that you loose the ‘seam’. Next, gently run your finger down each groove, pushing the icing into each one.
- Spread a thin layer of jam over the top of the base, and fit the top half of the cake onto the base.
- Divide the rest of your buttercream into as many bowls as you have colours to decorate (I used pink, purple, blue and green)
- Place each colour into a piping bag and start decorating the top with swirls of icing. They really don’t have to be perfect. If you end up with some gaps, just add some little piped splodges to fill them in. Do make sure that the rosettes at the bottom of the dome lay slightly over the edge as otherwise you get an ugly gap where the cake shows through.
- Add a topper or candles and voila! You have your own dairy and soya free giant cupcake to enjoy. Invite your friends as there is a LOT of cake here.
If you’re looking for a sparkly cake topper like ours, I bought mine on eBay here.
I’d love to see your creations on Instagram or in comments if you have a go at this – Heels and Hooves.

